guides
How to Repot Indoor Plants the Right Way
Learn when and how to repot indoor plants step by step, from choosing the right pot size to reducing transplant shock. Includes tool picks.
 Priya Anand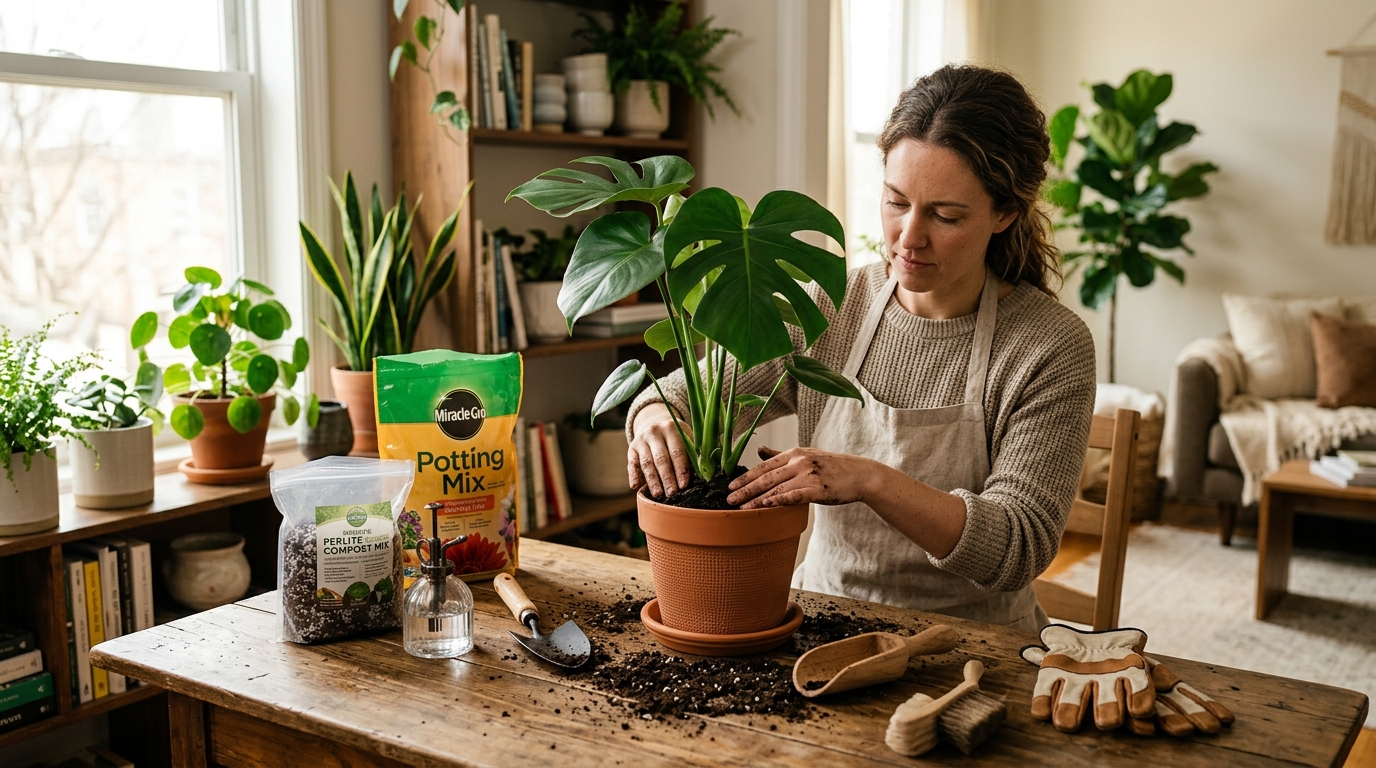
To repot an indoor plant, water it the day before, choose a new pot only 1-2 inches wider than the current one, add fresh potting mix to the bottom, ease the root ball out, loosen circling roots, seat the plant at the same depth, backfill and firm gently, then water thoroughly and move it out of direct sun for one week. Most plants need repotting every 1-2 years.
When should you repot an indoor plant?
Plants rarely announce they need repotting, so watch for specific signs rather than following a fixed calendar.
Repot when you see:
- Roots spiraling out of the drainage holes — the most reliable indicator. When roots emerge an inch or more from the bottom and have nowhere left to grow, the plant is root-bound.
- Roots pushing above the soil line — roots cresting the soil surface are searching for space and moisture.
- The plant wilts within a day of watering — a severely root-bound plant has so little soil relative to root mass that the pot dries out in hours, not days.
- Salt crust on the soil surface — white or orange mineral deposits indicate old soil that needs replacement even if the plant is not yet root-bound.
- Stunted growth or small leaves despite adequate light and fertilizer — indicates the root system has maxed out its container.
- The pot cracks or bulges — fast-growing plants like snake plants and bamboo can physically deform plastic nursery pots when root-bound.
When NOT to repot:
Avoid repotting during dormancy (fall through early winter), when a plant is severely stressed or drought-wilted, or when actively diseased. Do not repot on a fixed schedule if none of the above signs are present — some plants, including peace lilies, African violets, and cacti, bloom better when slightly pot-bound.
How often do most plants need repotting?
Fast-growing tropicals — pothos, philodendrons, monstera, and snake plants — typically max out a pot in 12-18 months. Slow-growing plants — succulents, cacti, ZZ plants — may be fine in the same container for 3-5 years. When in doubt, check the drainage holes every spring and let root growth drive the decision.
What pot size do you need?
The most common repotting mistake is choosing a pot that is too large. Moving to a container more than 2 inches wider than the current one creates excess soil volume that holds moisture the roots cannot absorb quickly enough, leading to root rot even with careful watering.
The rule: choose a new pot 1-2 inches wider in diameter than the current one. For a plant in a 4-inch pot, move to a 6-inch pot. For a plant in an 8-inch pot, move to a 10-inch pot. This sizing keeps the soil-to-root ratio healthy and drying speed appropriate.
Pot material comparison:
| Material | Best for | Moisture retention | Notes |
|---|---|---|---|
| Terracotta | Cacti, succulents, root-rot-prone plants | Low (porous walls breathe) | Dries fastest — adjust watering frequency upward |
| Plastic | Ferns, calathea, peace lily | High | Lightweight and inexpensive; good for moisture-lovers |
| Glazed ceramic | Most houseplants with drainage holes | Medium-high | Heavy but attractive; verify drainage holes before buying |
| Fabric grow bags | Edibles, fast-growing tropicals | Low | Air prunes roots; pairs well with frequent watering |
Drainage holes are non-negotiable. Every pot used for long-term plant care must have at least one drainage hole at the bottom. No potting mix or watering technique prevents root rot in a sealed container over time.
What tools and soil do you need?
You do not need many tools, but having the right ones makes the process cleaner and less stressful to the plant.
Minimum tool list:
- A trowel or narrow soil scoop for filling around the root ball
- Clean scissors or pruning shears for trimming dead or rotted roots
- A watering can
- Rubbing alcohol and a cloth to wipe tool blades between plants
A hand trowel set with a narrow transplanting blade handles the majority of indoor repotting work. Wiping blades with rubbing alcohol between plants prevents spreading fungal pathogens from one root system to the next.
Choosing soil by plant type:
- Tropical houseplants (pothos, philodendron, monstera, ferns): any quality indoor potting mix with perlite for drainage
- Cacti and succulents: a dedicated cactus and succulent mix — never standard potting soil, which retains too much moisture
- Orchids: bark-based orchid mix — potting soil smothers orchid roots and kills them within weeks
- Herbs and edibles: a general herb and vegetable potting mix with good drainage and nutrient content
Always use fresh potting mix. Do not reuse compacted old soil from the previous pot as the main growing medium — it has degraded structure, salt buildup, and potentially harbors pathogens. Adding 20-30% perlite to any general potting mix improves drainage and reduces root rot risk for most species.
Step-by-step: How to repot an indoor plant
Step 1: Water the plant thoroughly the day before
Water 24 hours before repotting. Moist soil clings together as a cohesive root ball, making it easier to remove cleanly from the old pot. Dry soil crumbles and falls apart, stripping roots of their structure and making the root ball difficult to handle. Watering ahead also hydrates the plant before the stress of transplanting, reducing transplant shock.
Step 2: Prepare your new pot and fresh potting mix
Set the new pot in a convenient workspace on newspaper or a tray. Add a small layer of fresh potting mix to the bottom — enough to position the root ball with the soil surface sitting 1-2 inches below the pot rim. This gap is essential for watering: without it, water flows over the edge rather than soaking into the soil.
If the pot has very large drainage holes, lay a small piece of mesh screen or a coffee filter over the holes before adding soil. This keeps mix in while allowing water to drain freely.
Step 3: Remove the plant from its current pot
Tip the current pot sideways and gently squeeze the sides if it is plastic. Support the plant stem loosely between your fingers at the base and ease the pot off rather than pulling the stem. For stubborn root-bound plants, run a blunt butter knife around the inside edge of the pot to separate roots from the walls.
If the pot will not release, do not force it by pulling the stem — this breaks stems and tears roots. Water once more, wait 10 minutes, then try again. For small plastic nursery pots that are completely root-bound, cutting the pot away rather than forcing it out is a valid last resort.
Step 4: Inspect and loosen the roots
Once the plant is out, examine the root ball directly. Healthy roots are white, cream, or light tan and firm to the touch. Soft, brown, or black roots indicate rot — trim these away with clean scissors before repotting. Wipe the blade with rubbing alcohol after each cut so you do not spread pathogens into healthy tissue.
Look for circling or girdling roots — roots that have wrapped tightly around the root ball rather than growing outward. Gently loosen these with your fingers or use a chopstick to tease them apart. Circling roots that are not corrected continue to spiral even in the larger container and eventually restrict water and nutrient uptake.
If the root ball is extremely dense and compacted, gently break up the bottom third of the root mass with your fingers. This encourages roots to explore the new soil rather than staying bundled in their previous shape. Some soil loss at this stage is expected and fine.
Step 5: Seat the plant at the correct depth
Place the plant in the new pot and assess the height. The crown of the plant — where the stem meets the roots — should sit at the same depth as before, with the top of the root ball 1-2 inches below the pot rim.
Avoid planting deeper than before. Burying the crown below its previous soil line invites fungal rot at the stem base on most houseplants. The one exception is succulents, which tolerate being planted at the same depth without issues.
Step 6: Backfill and firm gently
Pour fresh potting mix around the sides of the root ball, filling all gaps. Use a trowel or your fingers to gently firm the soil around the roots, eliminating large air pockets. Do not compress the soil aggressively — moderately firm packing that holds the plant upright is the goal. Excessively compacted soil restricts drainage and root growth.
Work the mix thoroughly into the spaces around the root ball. Tapping the pot lightly on the table a few times settles the soil and reveals any remaining voids that need filling.
Step 7: Water thoroughly and remove excess
Water immediately after repotting, pouring until water runs freely from the drainage holes. This settles the soil around the roots, collapses remaining air pockets, and establishes good contact between the root ball and the new mix.
Empty the saucer or tray within 30 minutes. Sitting in standing water immediately after repotting — when roots are already stressed — accelerates rot onset.
Step 8: Move to bright indirect light for recovery
Keep the freshly repotted plant out of direct sunlight for 1-2 weeks. Direct sun drives high water loss through leaves at the exact moment roots are temporarily less efficient at uptake. Bright indirect light supports recovery without adding dehydration stress.
Mild wilting in the first 2-4 days after repotting is normal — a temporary response to root disturbance. Keep the soil evenly moist (not soggy) and most plants recover fully within a week. If severe wilting persists beyond 5-7 days, check the root ball for rot.
Recommended products for repotting
Best for General tropical houseplants and edibles
FoxFarm Ocean Forest Potting Mix
Pre-loaded with earthworm castings, bat guano, and sea fish meal. No additional fertilizer needed for 4-6 weeks after repotting. Consistent drainage and aeration for most indoor plants.
★★★★★ 4.7 · 12,400 reviews
Check current price on Amazon→Best for Succulents, cacti, and drought-tolerant plants
Hoffman Cactus and Succulent Soil Mix
Ready-to-use gritty mix with sand and limestone already blended in. Drains quickly to prevent the overwatering failures that standard potting soil causes with succulents.
★★★★★ 4.5 · 7,200 reviews
Check current price on Amazon→Best for Root trimming and dead growth removal during repotting
Fiskars Micro-Tip Pruning Snips
Narrow stainless blades reach cleanly into dense root balls. Spring-loaded for easy one-hand use. Wipe blades with rubbing alcohol between plants to avoid spreading root pathogens.
★★★★★ 4.6 · 4,800 reviews
Check current price on Amazon→Common repotting mistakes to avoid
Going too large on pot size: A pot 4+ inches wider than the root ball holds excess soil that stays wet for days, leading directly to root rot. Stick to the 1-2 inch rule even if the plant looks like it could handle more space.
Planting too deep: Burying the crown below the soil line invites fungal rot at the stem base. Seat the plant at the same depth it grew before, with the crown at or just slightly above the new soil line.
Skipping root untangling: Circling roots need to be loosened before repotting, not just given a larger container. Spending 60 seconds freeing the root ball prevents ongoing constriction after the upgrade.
Fertilizing immediately: Fresh potting mix already contains nutrients. Applying fertilizer to stressed, freshly-disturbed roots causes burn that delays recovery. Wait 4-6 weeks before resuming any fertilizer regimen.
Using garden soil in containers: Outdoor soil compacts in pots, restricts drainage, and often introduces pests and pathogens indoors. Always use a mix formulated for container growing.
Repotting at the wrong time: Moving a plant during fall dormancy disrupts the root system when it cannot actively repair itself. Spring through early summer gives the best recovery conditions.
FAQ
Frequently asked questions
How do I know if my plant is root-bound?
Should I water before or after repotting?
How long does transplant shock last after repotting?
Can I repot a plant that is currently flowering?
Do I need to add gravel or rocks at the bottom of a pot for drainage?
How soon after repotting can I fertilize?
Bottom line
Repotting is straightforward when you follow two rules consistently: move up only 1-2 inches in pot size at a time, and loosen circling roots before placing the plant in fresh soil. These two habits prevent the most common post-repotting failures — root rot from an oversized container and continued root constriction from a tangle that was never untangled.
Watch for the signs that a repot is actually needed (roots at the drainage holes, wilting within a day of watering, visible salt crust) rather than repotting on a fixed schedule. Most plants thrive in the same container for 1-2 years; unnecessary repotting is stress with no upside.
Explore further: how to water indoor plants to maintain fresh soil correctly after repotting, how to fertilize indoor plants for the post-repot nutrient schedule, best potting soil for vetted soil recommendations by plant type, and common indoor plant problems if your plant shows unusual symptoms after the move.